|
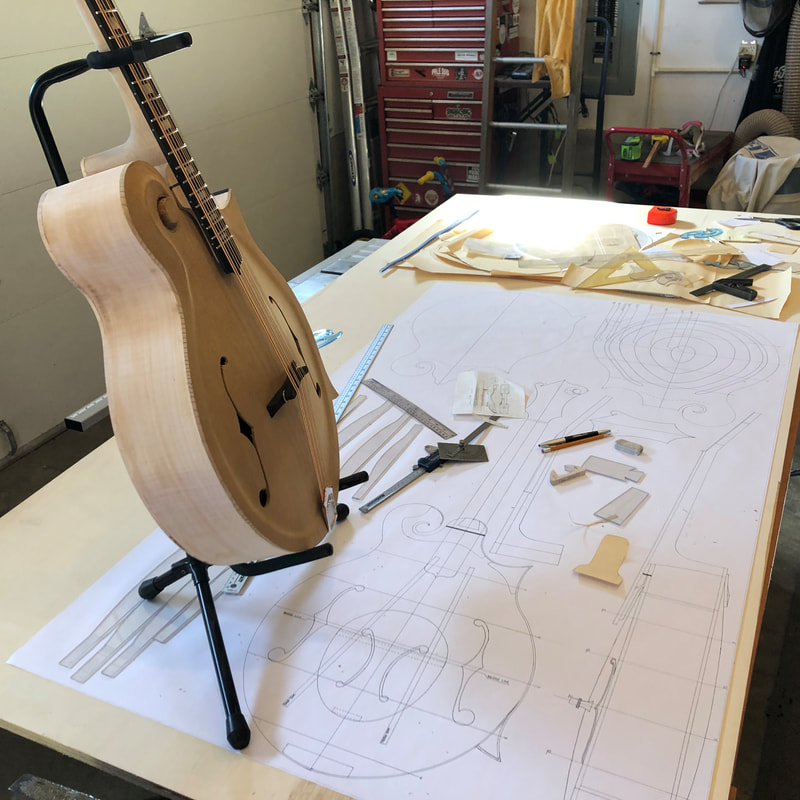
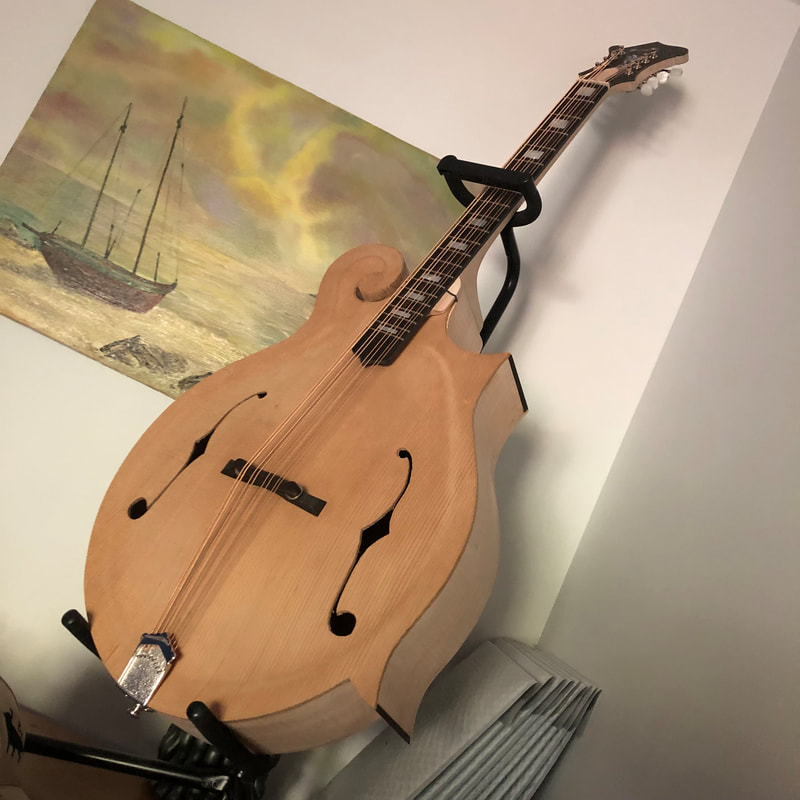
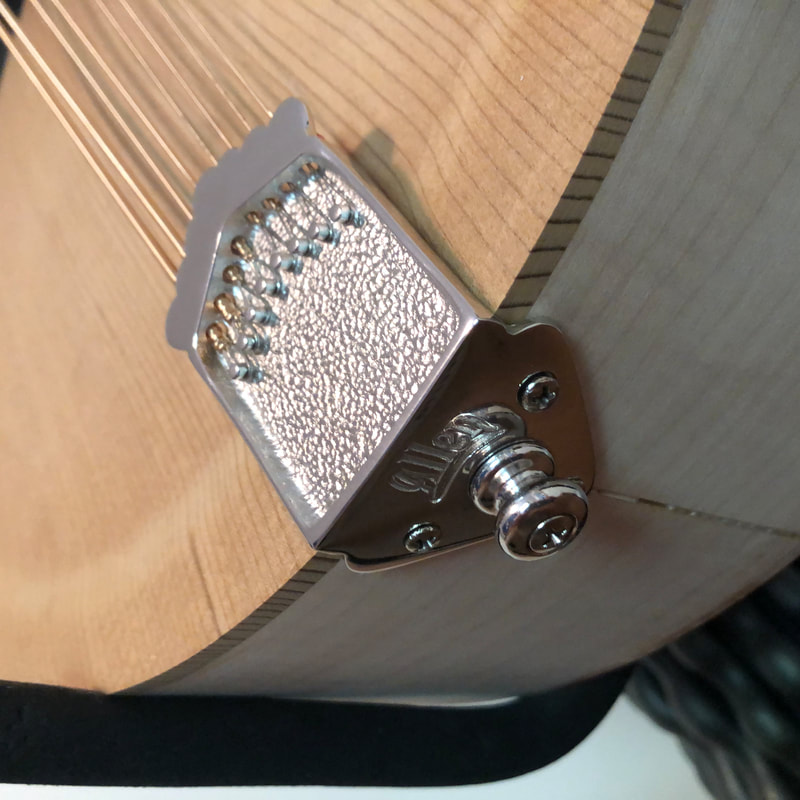
Having the strings on the M'Cello has been really exiting and since I want the Mandocello to be strung for 2 weeks to keep constant pressure on the soundboard and monitor... I decided, since there is a lot of interested people waiting on the blueprints that I might as well get started on those.
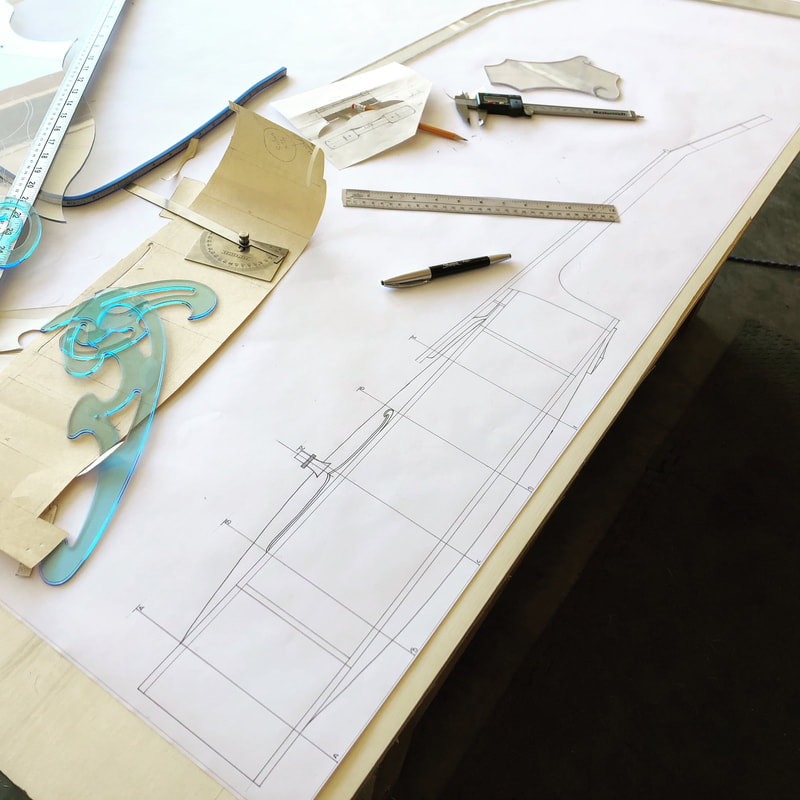
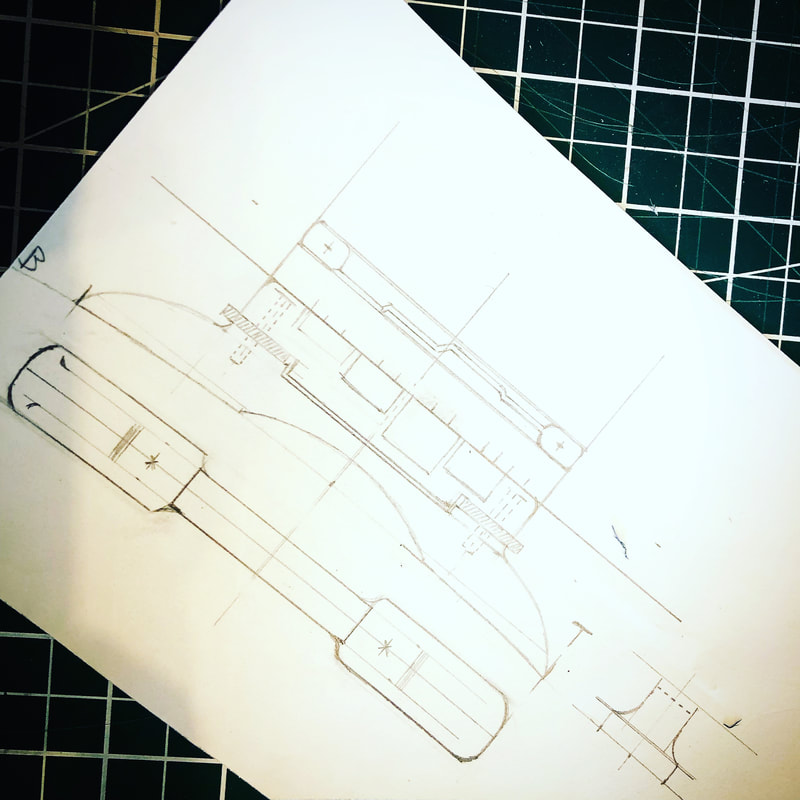
So the blueprints will be full scale, hand drawn. All the information will be on one sheet and this is how far I was able to get today... Not a bad day!!! If you would like your name to be added to the list of interested builders send me a quick note here: http://www.hovingtoninstruments.com/contact.html
0 Comments
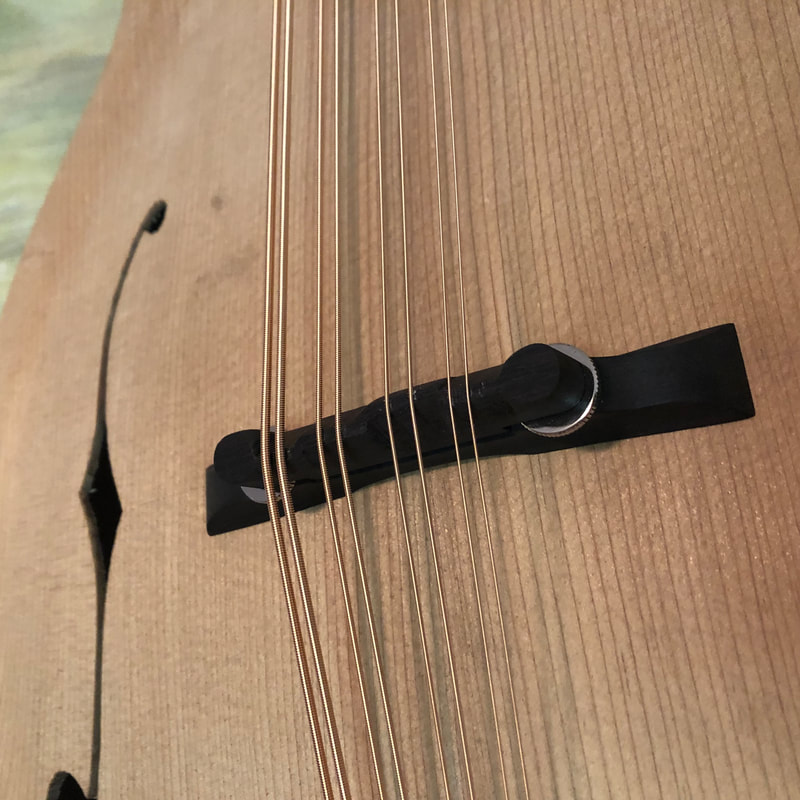
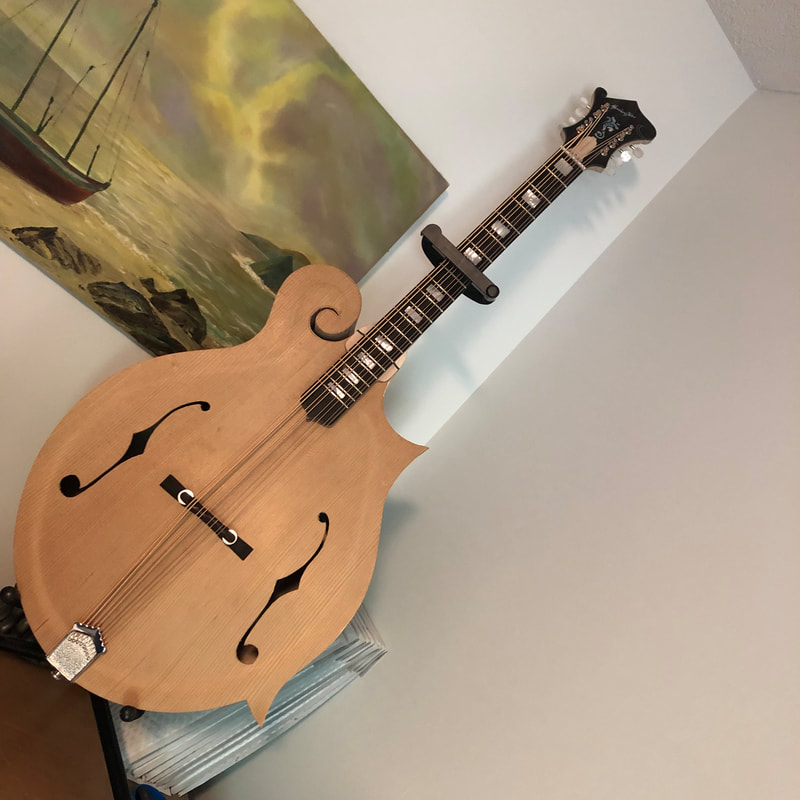
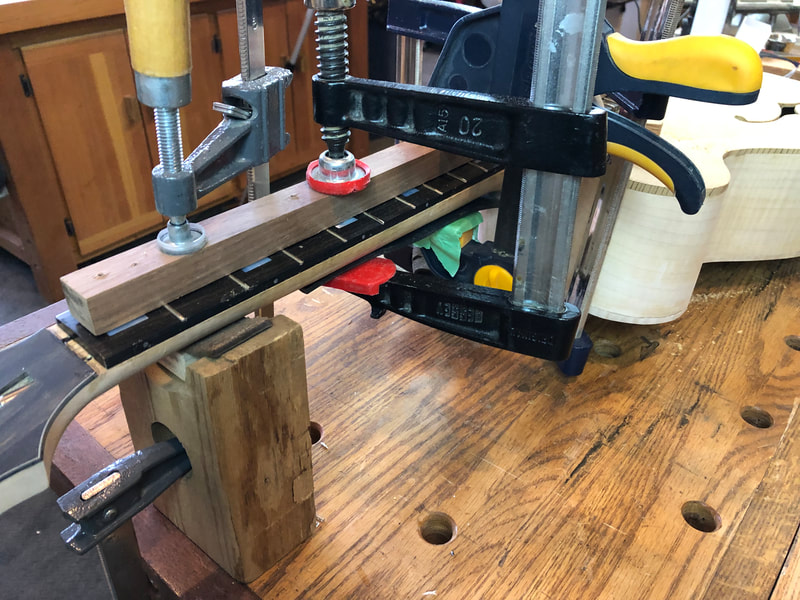
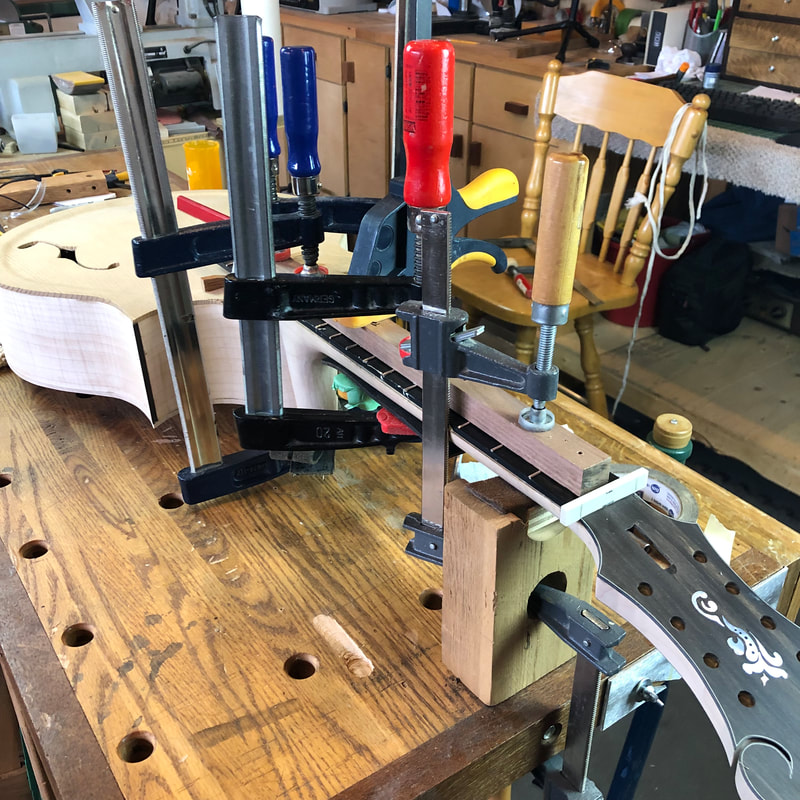
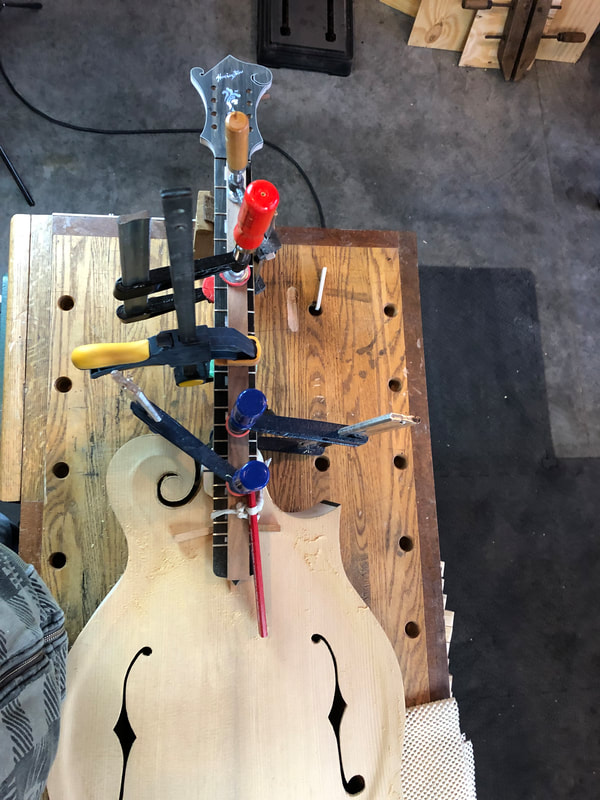
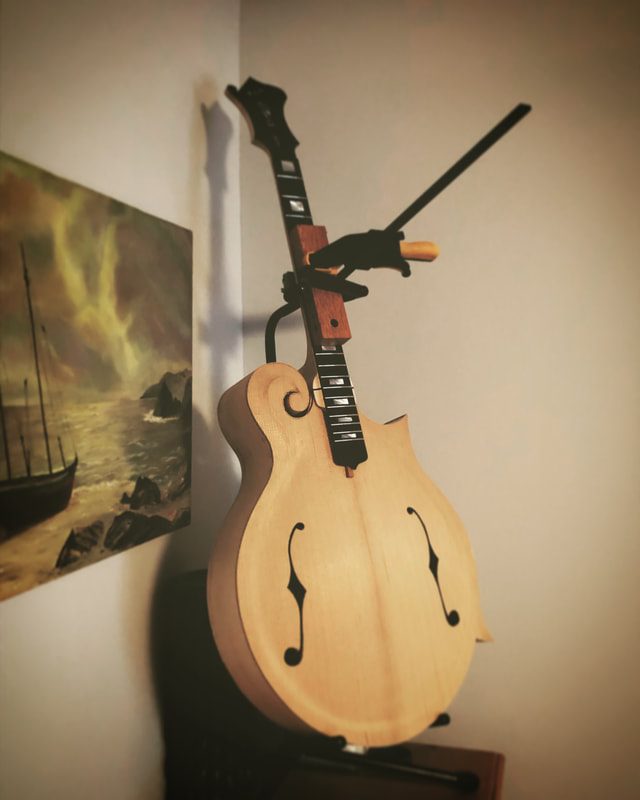
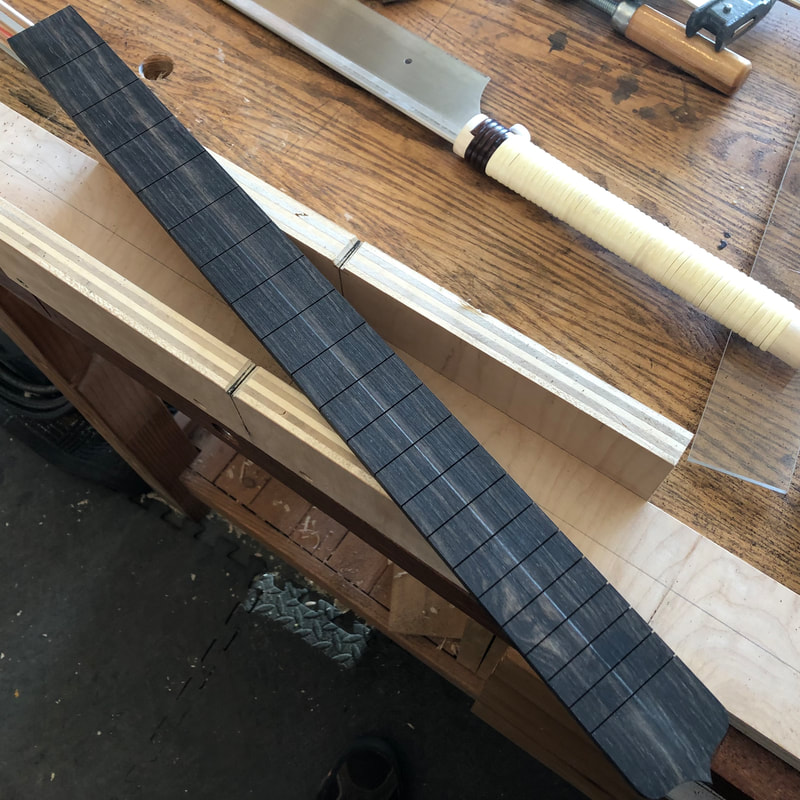
Got really exited last time I was in the shop.. Made the bridge, strung the Mandocello and was able to hear it for the first time... Mind you the voicing is not done and the action isn't optimal..( will most likely get the spacing on the nut between the strings closer also). BUT... I've been able to play this monster up to the point that my fingers asked me to stop... It was so rewarding and exiting to hear the response, the tone, and how low it sounds in person. Oh, and the low C isn't a thud... It rings on and on and on!!! I made this little clip for everyone interested to hear it at this point in time... Link Below! Latest video in the Mandocello build series. Making and Gluing of the Fretboard. What a great step to pass thru today! The fretboard glue up... Although I still need to clean and level the frets, just having the fretted board glued in it's resting place feels great.
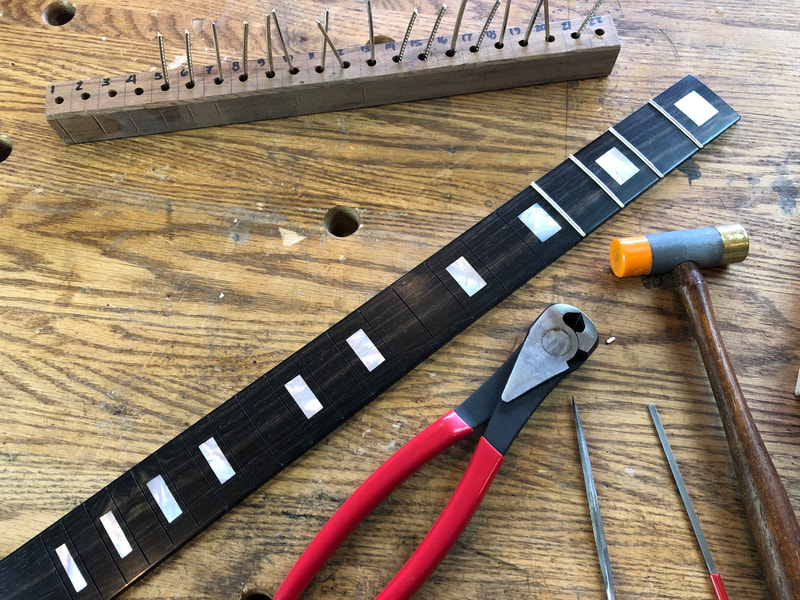
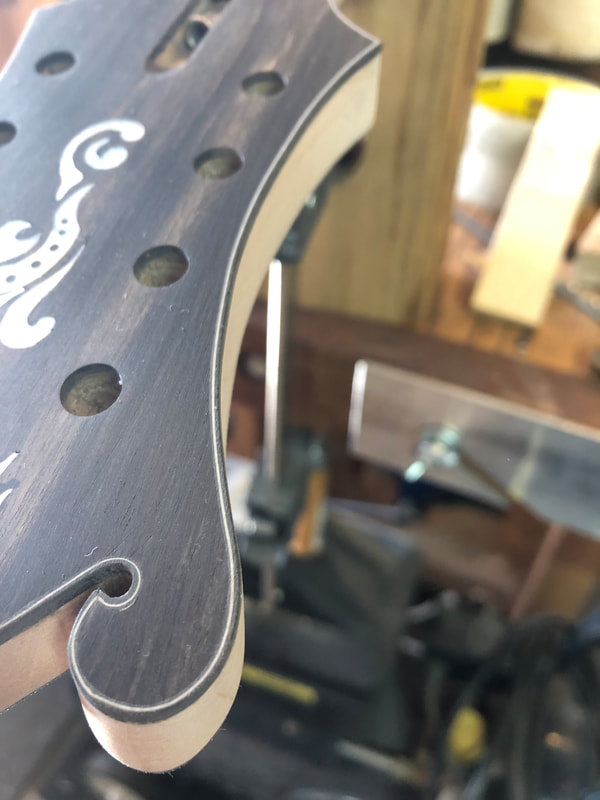
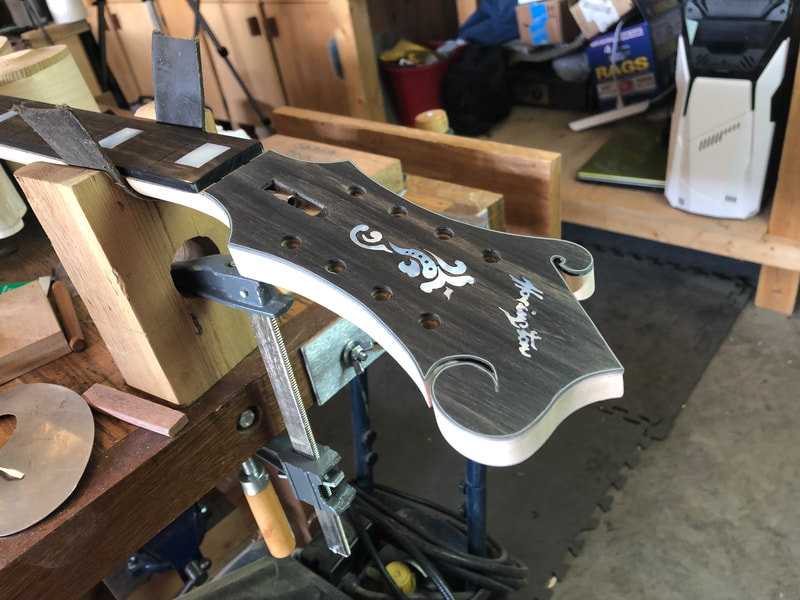
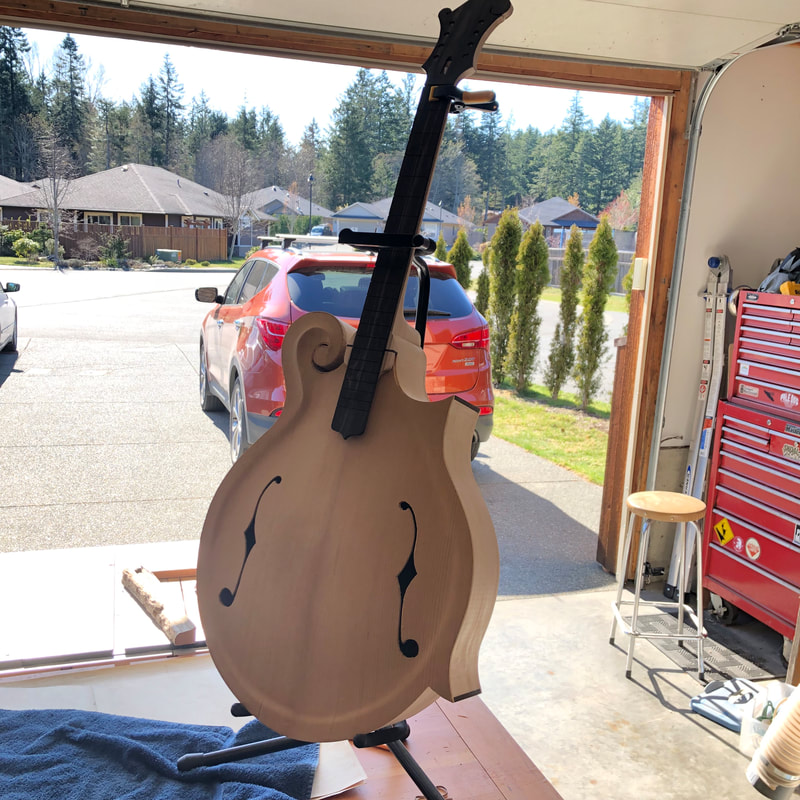
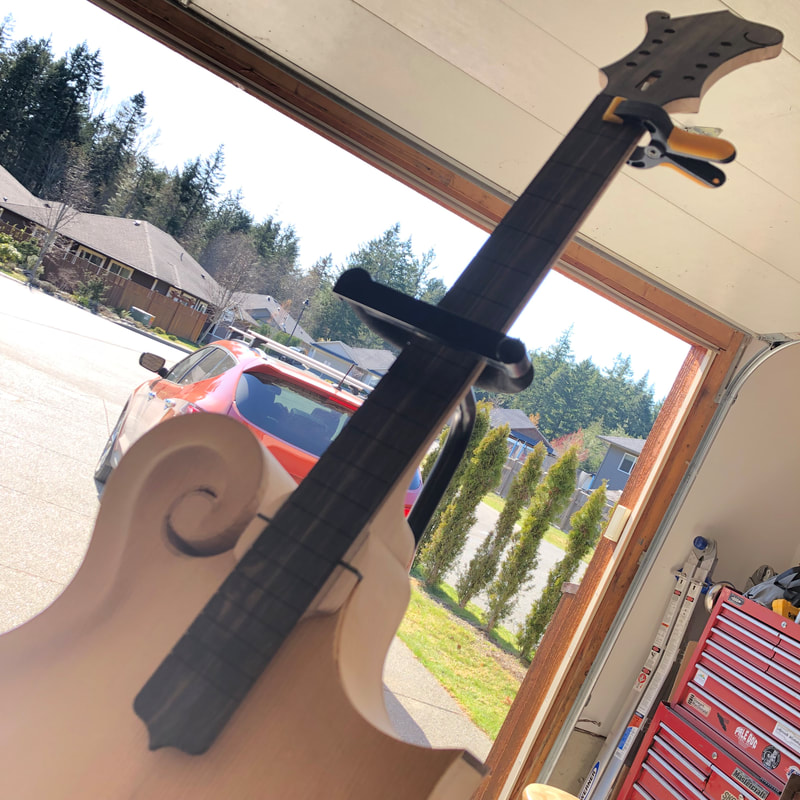
So, today I started with bending, cutting the tang, and fitting every frets to their location. Made a dry fit of the fretboard and then do the glue up. I want to leave it aside for 24 hrs so after most of the afternoon under the clamping pressure it was time to bring it back in and leave only one clamp overnight for good measure. If all goes well, I might have some strings on by next week or at the latest 2 weeks! I'm really happy on how things went today.. I've started by finishing fixing the binding at the lower end of the fretboard ( as seen in part 14 of the Mandocello build) and while the glue was drying I started routing the binding channel and installing the BWB binding around the peghead.
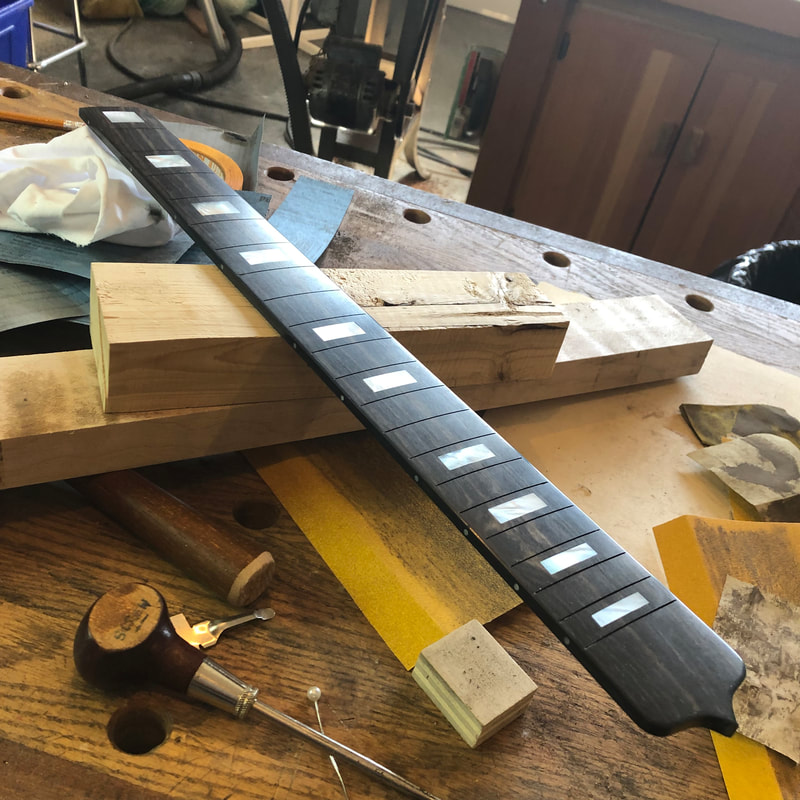
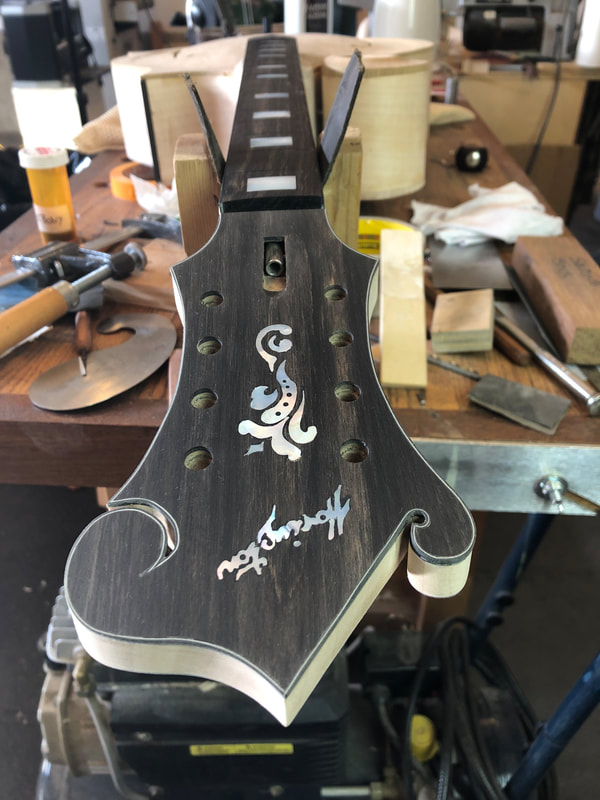
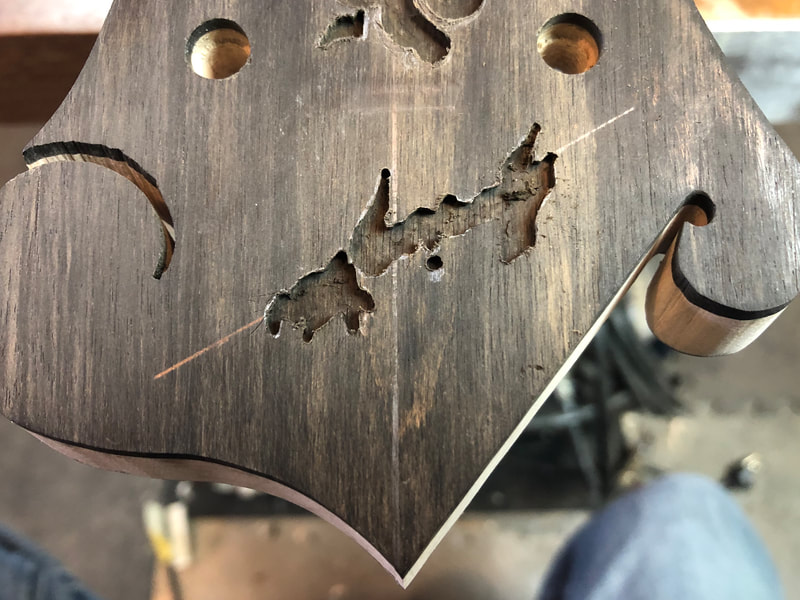
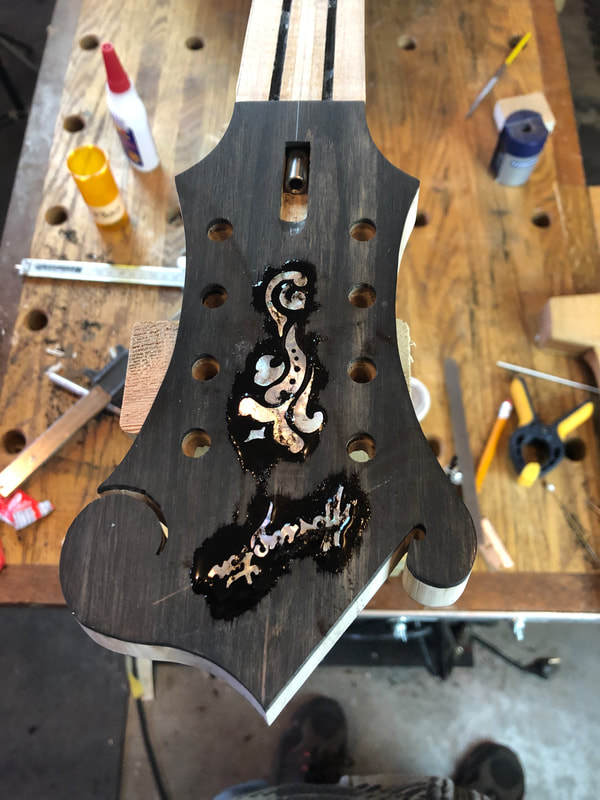
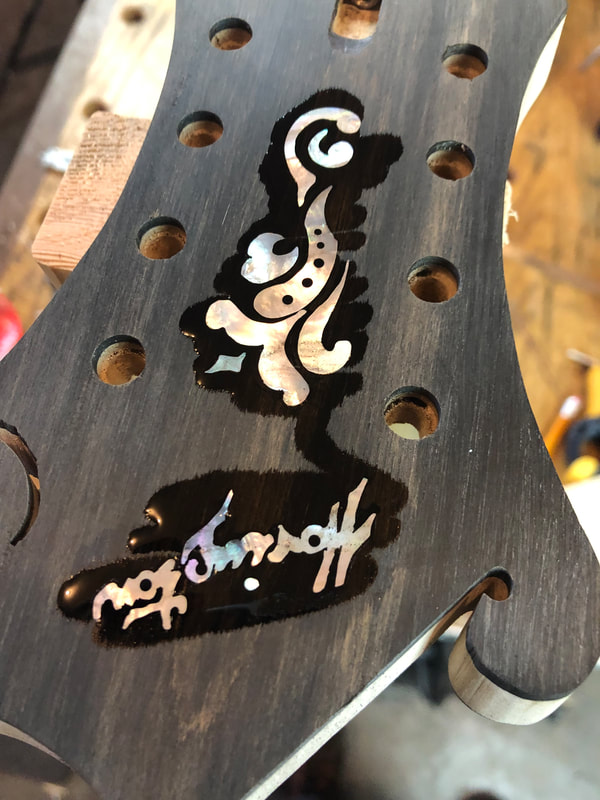
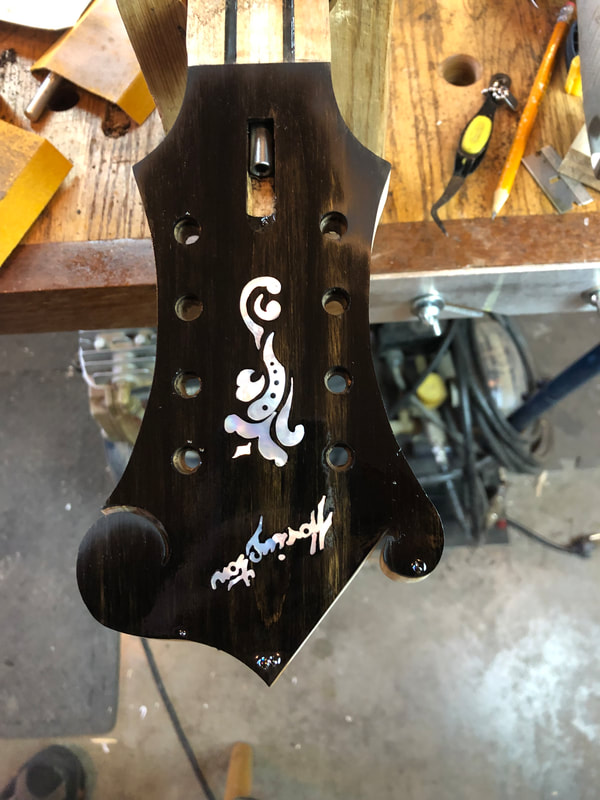
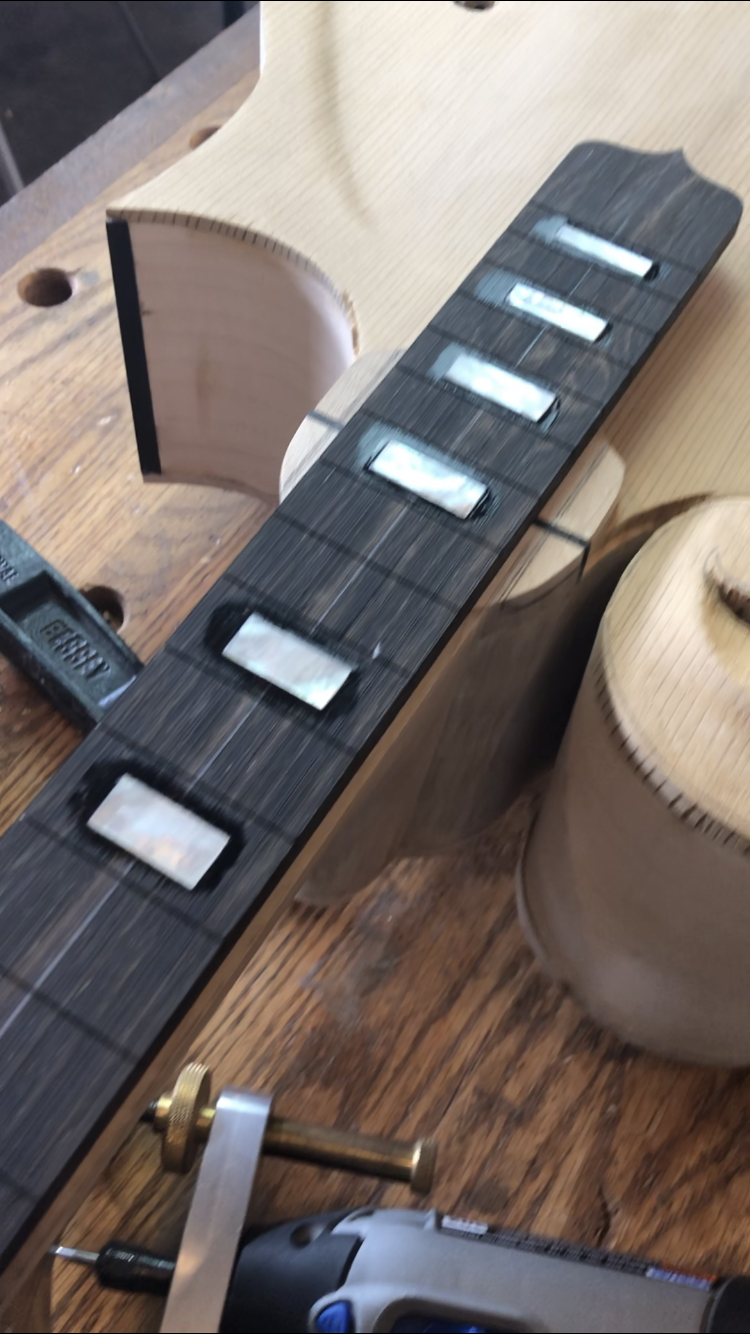
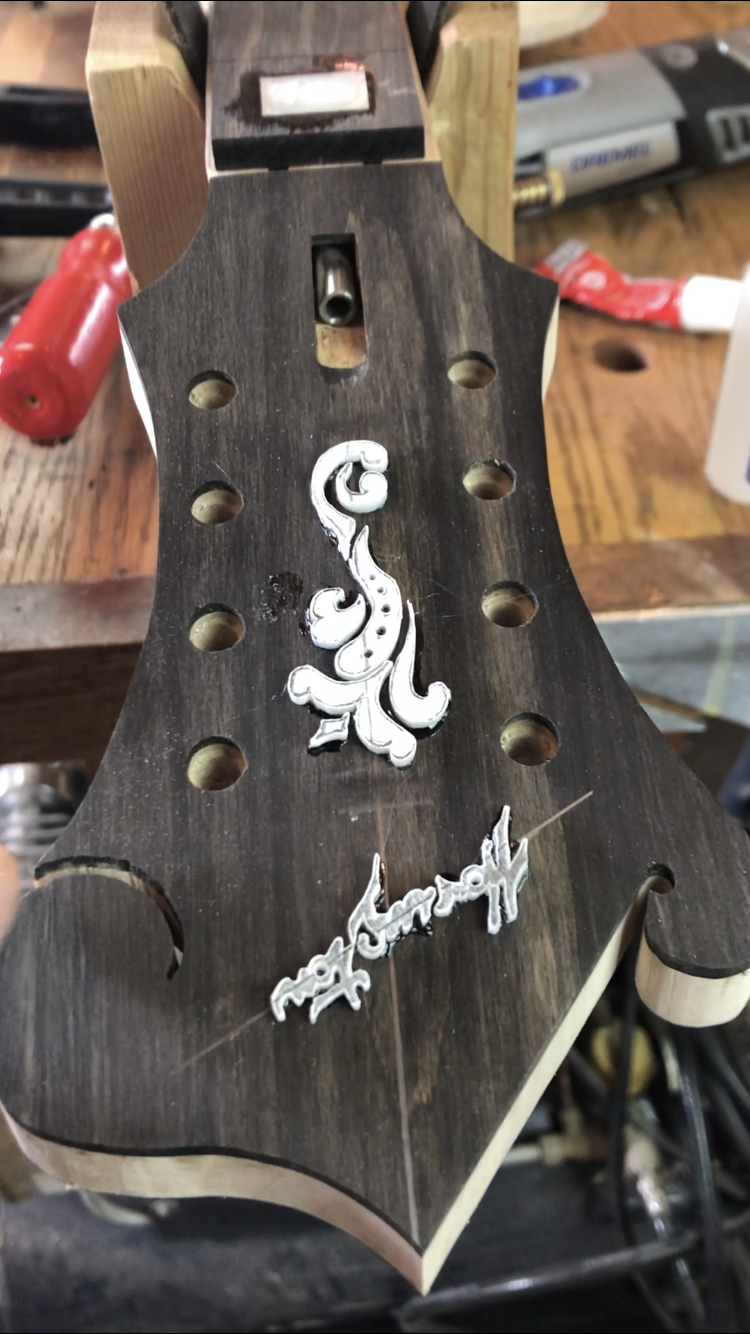
Once done I put it aside to dry and went back to the fretboard to Sand in the 12" Radius with my radius block fitted with 80 grit sandpaper. Once the radius was in I kept sanding until all was left was a glossy shine. I've then added the Pearloid side dot markers on the fretboard side, cleaned it up and cleaned up the peghead to reveal very nice transitions in between the binding joints. Looks like tomorrow will be all about fretwork and ( cross fingers ) glueing the fretboard to the neck.... Today was a good day! 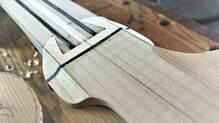 Athough this is a short video, it does cover a lot of small aspects encoutered during the build, some of them, needing very critical adjustments. The transition between the neck dovetail, neck block, and binding needs to be extremely precise since the fretboard will be glued to this transition. The Same reasoning applies for the fretboard extender which from the glue up location just rest in mid air and needs to line up perfectly for the fretboard. I'm also taking the time to adjust some visual transitions around the neck block with files and sand paper. In this video I am also going thru the MoP inlay work on the fretboard and the peghead. And in the end... I come face to face with my first real issue since I started this build... Part 14 Been working on the peghead inlay today and was able to finish it. Brand name " Hovington " and flower is glue and sanded. At this point all that is left to do is final sanding after the peghead binding is installed.
Now... Back to the fretboard binding, radius, and frets install! Oh.. and side dots...
Working with Mother of Pearl (MoP) Today.. Adding inlay on a instrument is always time consuming but worth every minute. Today was about cutting the MoP blocks for the fretboard, the flower for the peghead and the name brand using a only jewelers saw. I did have time to glue the fretboard blocks inlay after I routed the cavity for them but still more work to do on the peghead.
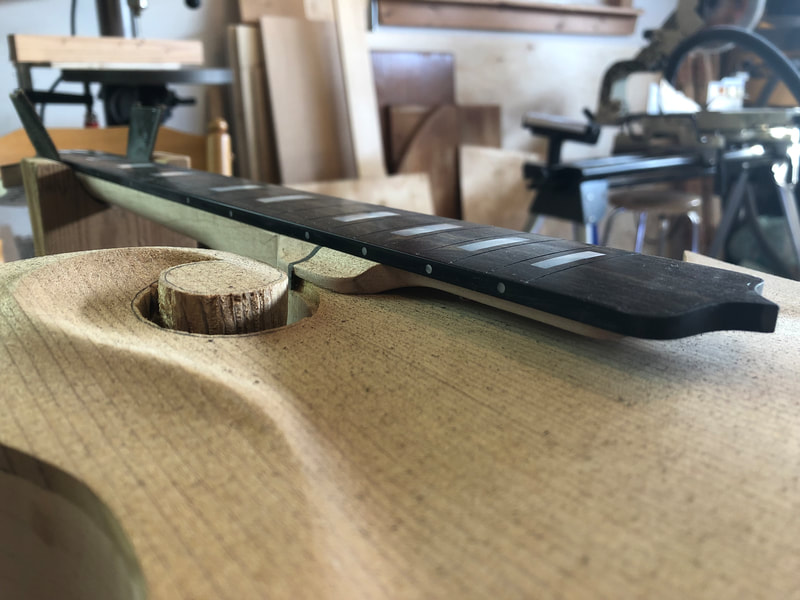
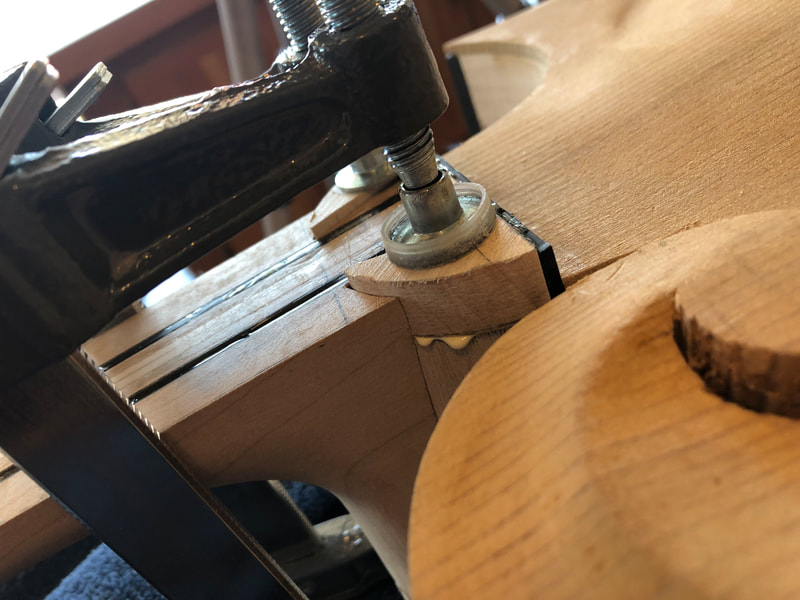
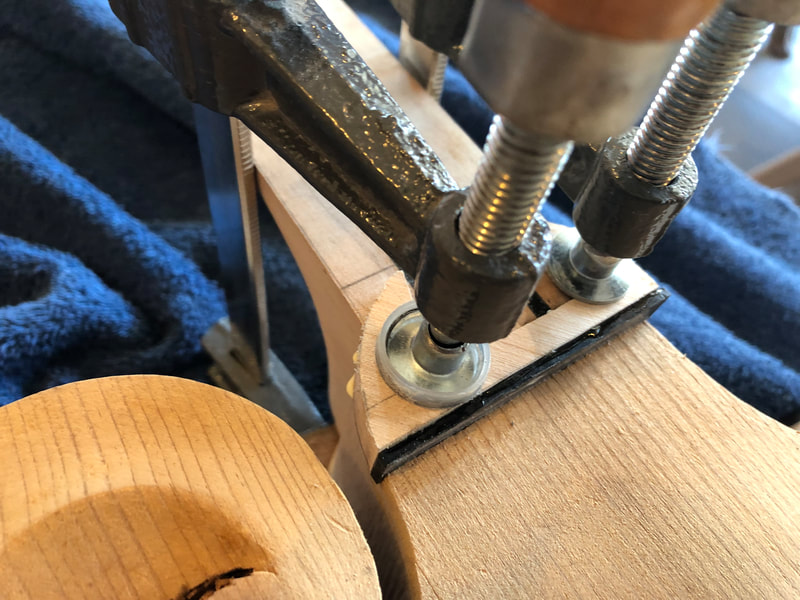
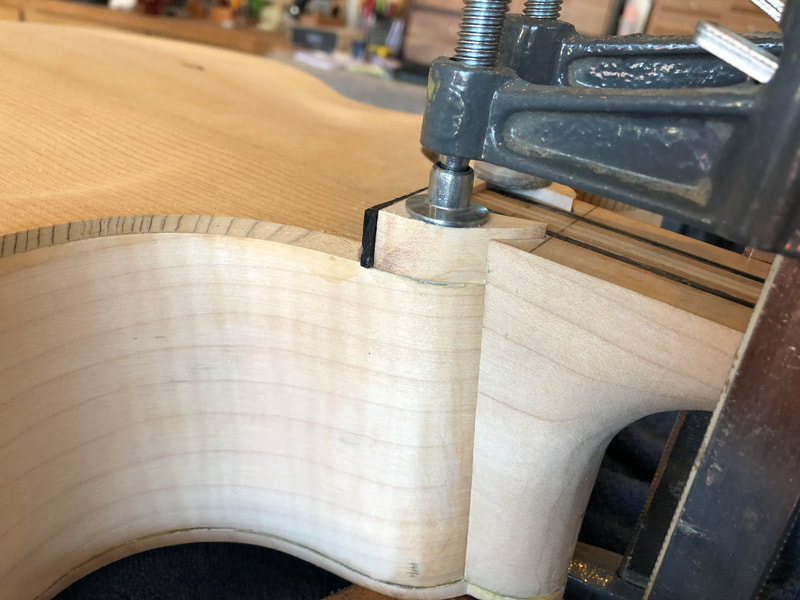
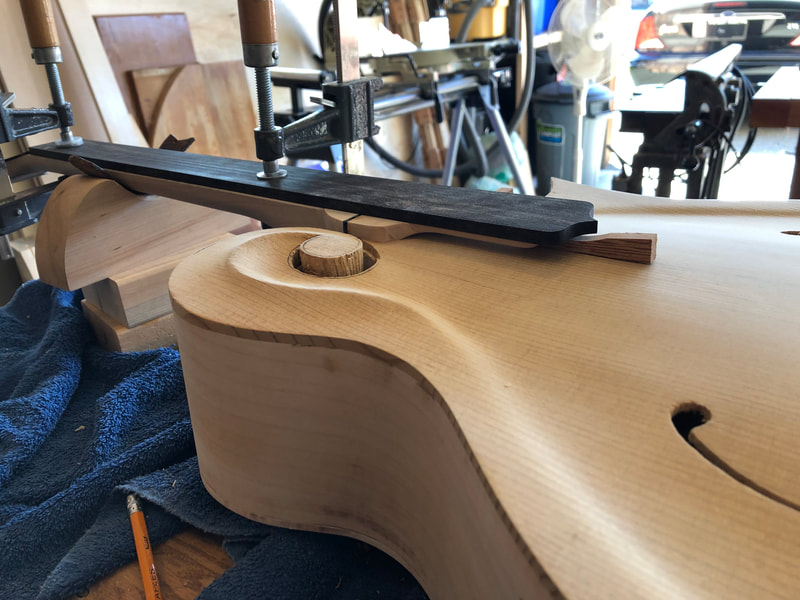
Busy day today... After making and shaping the dovetail neck shim and gluing it in, I turned my attention to the fretboard extender. ( this is the piece that will hold the fretboard over the soundboard). I had to start the binding channel in this area since it would have been really hard to achieve at a later stage.
Technically I jumped over the binding step... In order to test the integrity of the instrument. Once the instrument is tested, I will add the binding around the soundboard and the backboard. I then glued the fretboard extender and cut all the fret slots in the Ebony fretboard... Today was a good day! In this video you can see the backboard tuning, glue up and ebony points installation. |
Tomy Hovington LuthierArchives
October 2020
Categories |



 RSS Feed