|
Although I've been really busy outside of the shop, I was able to get a lot of things in motion in here.
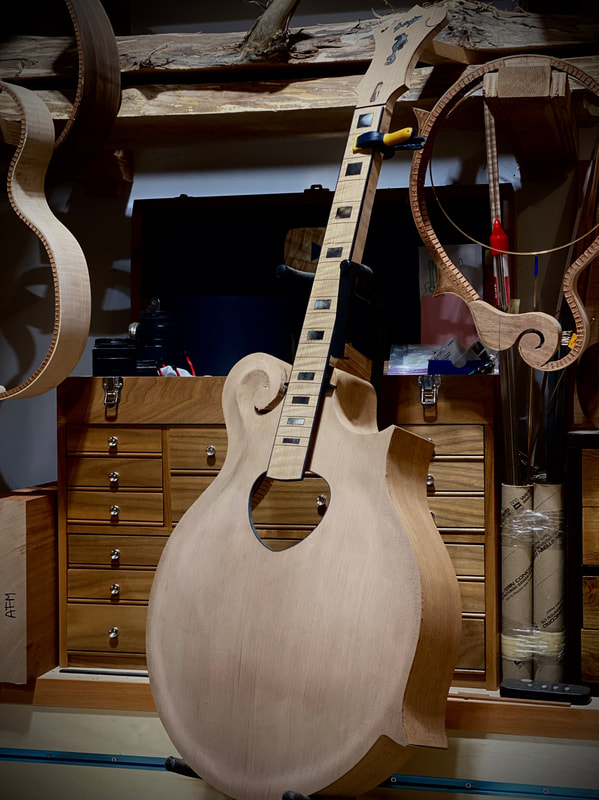
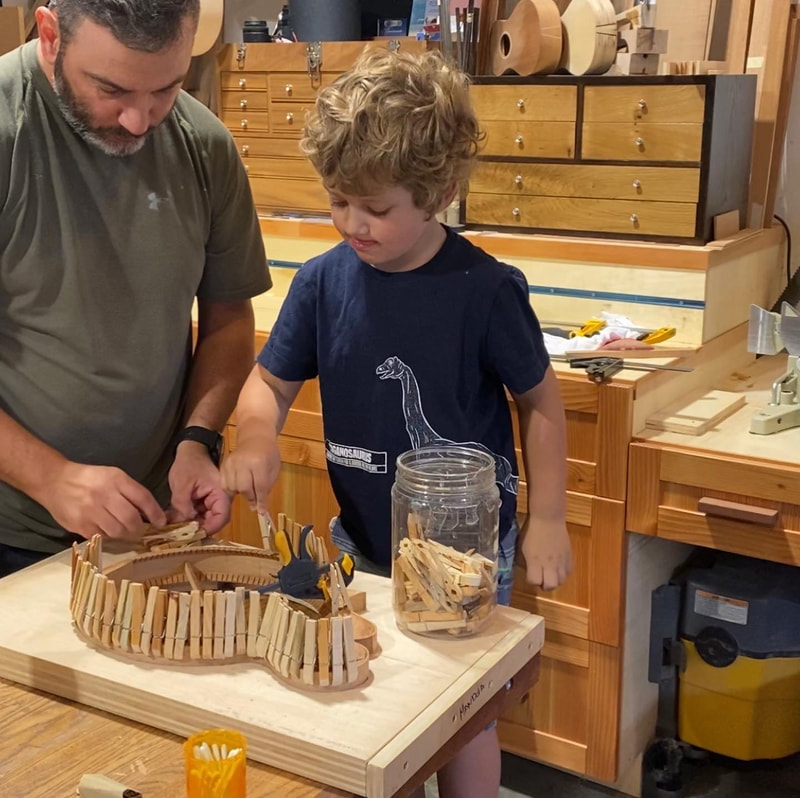
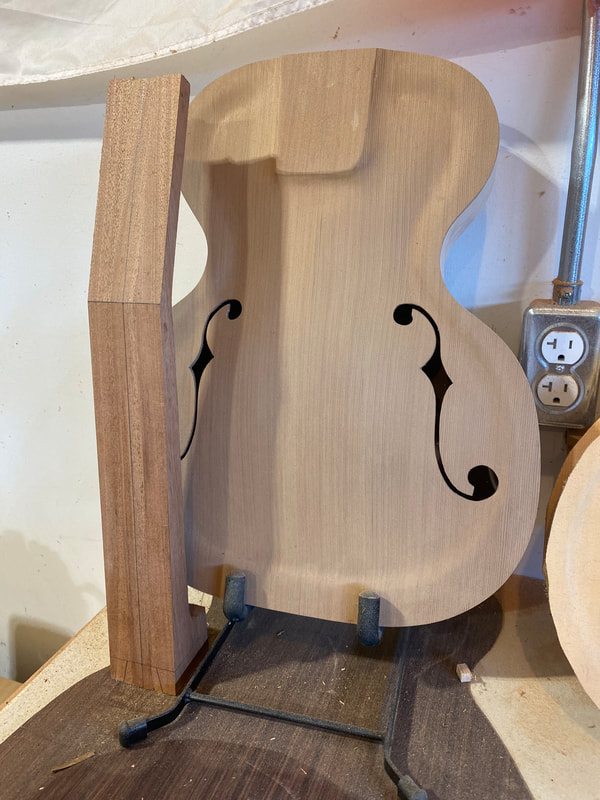
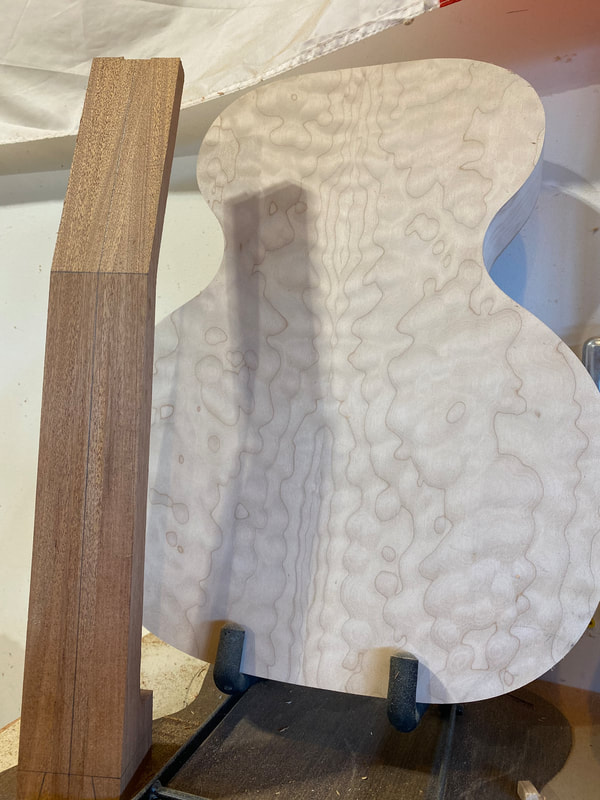
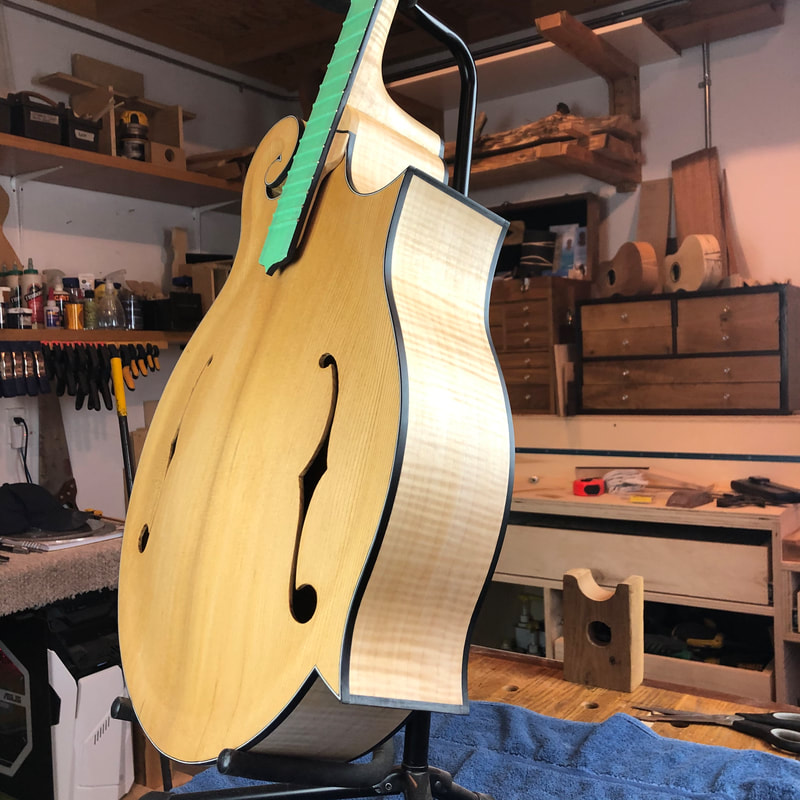
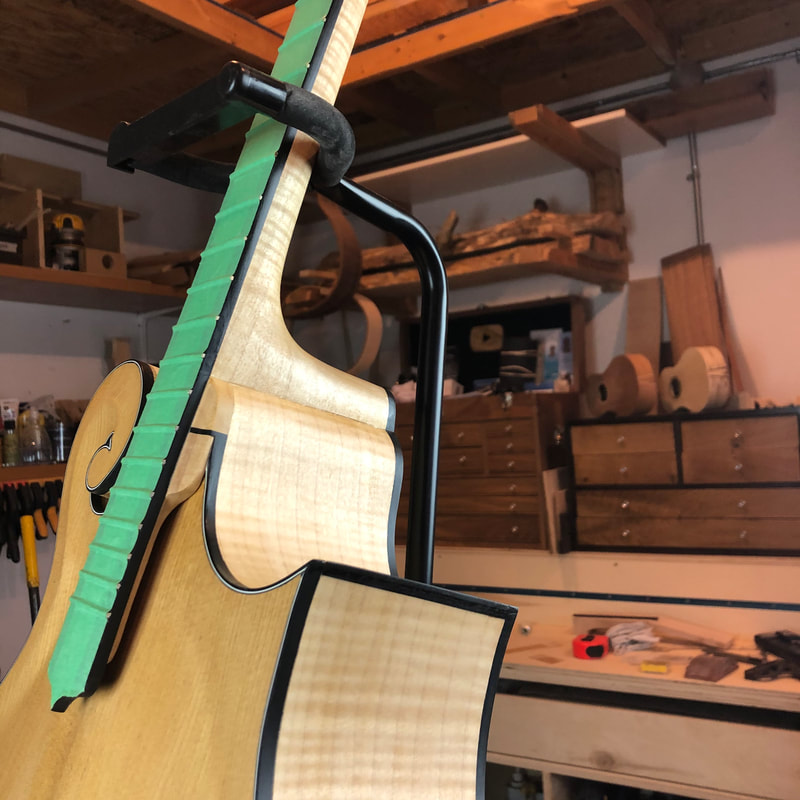
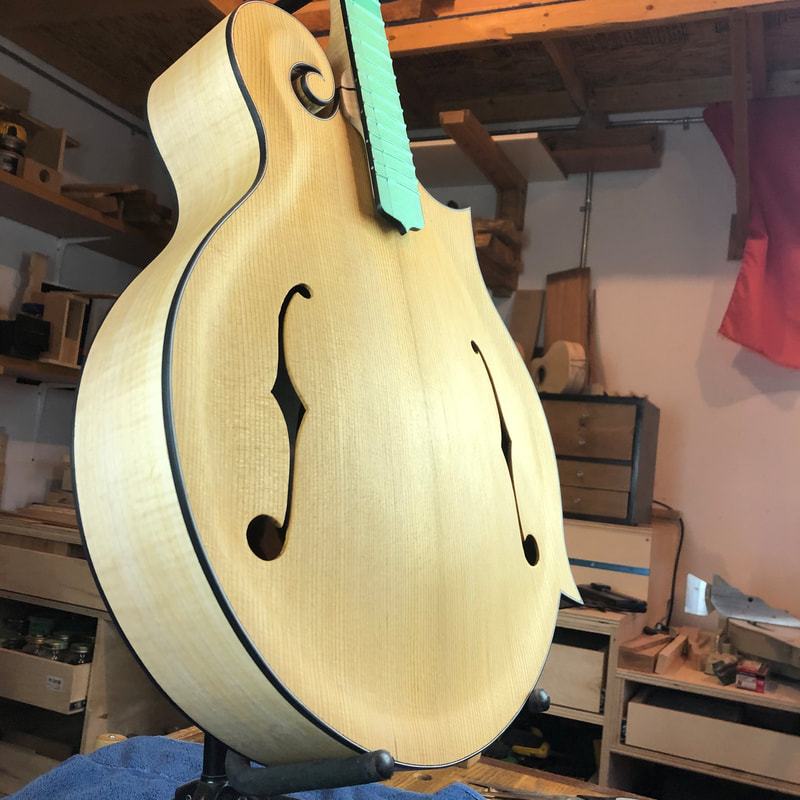
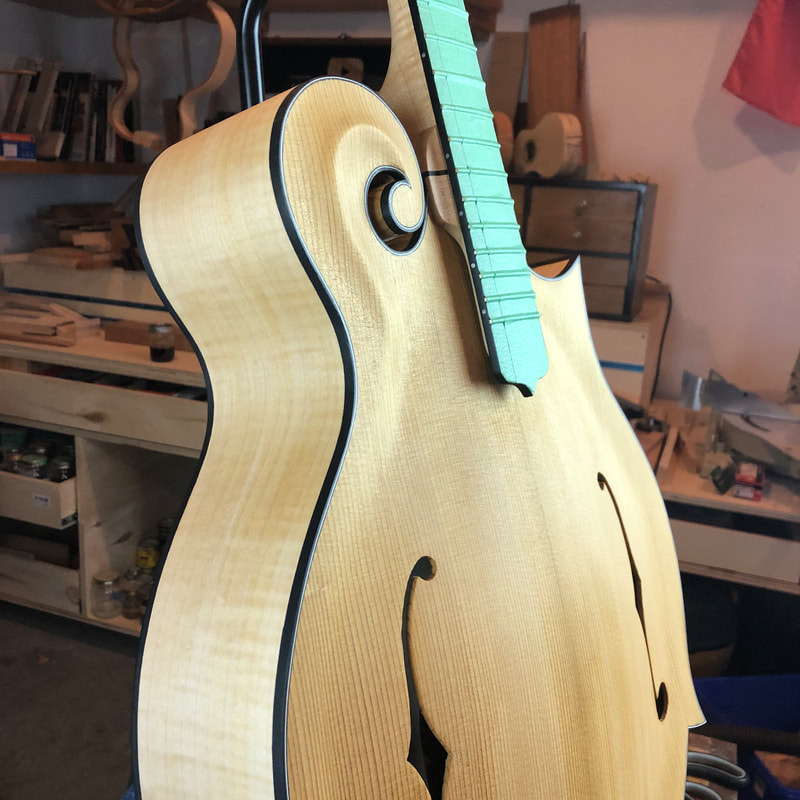
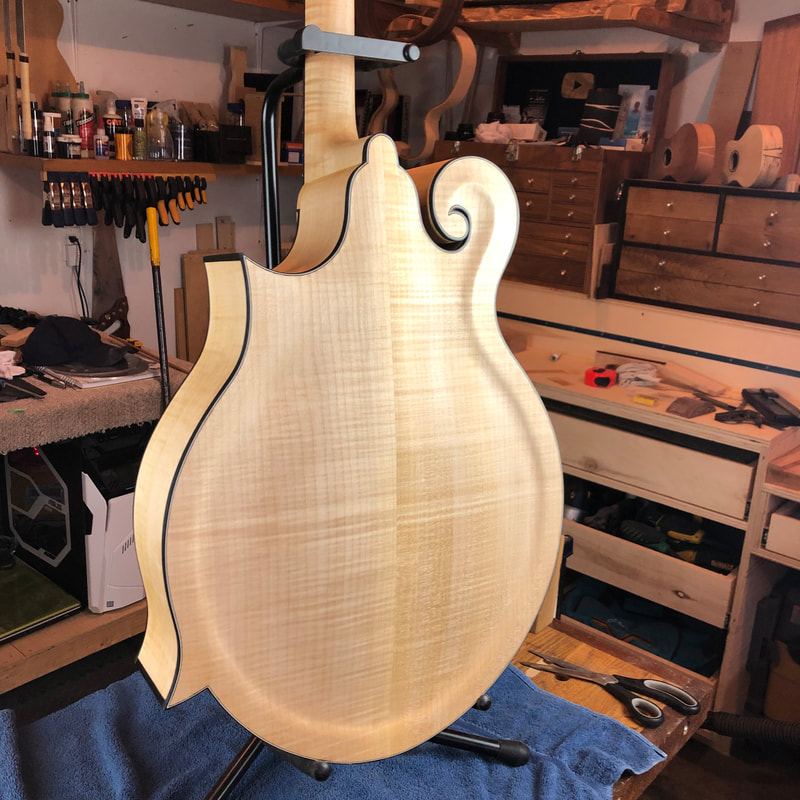
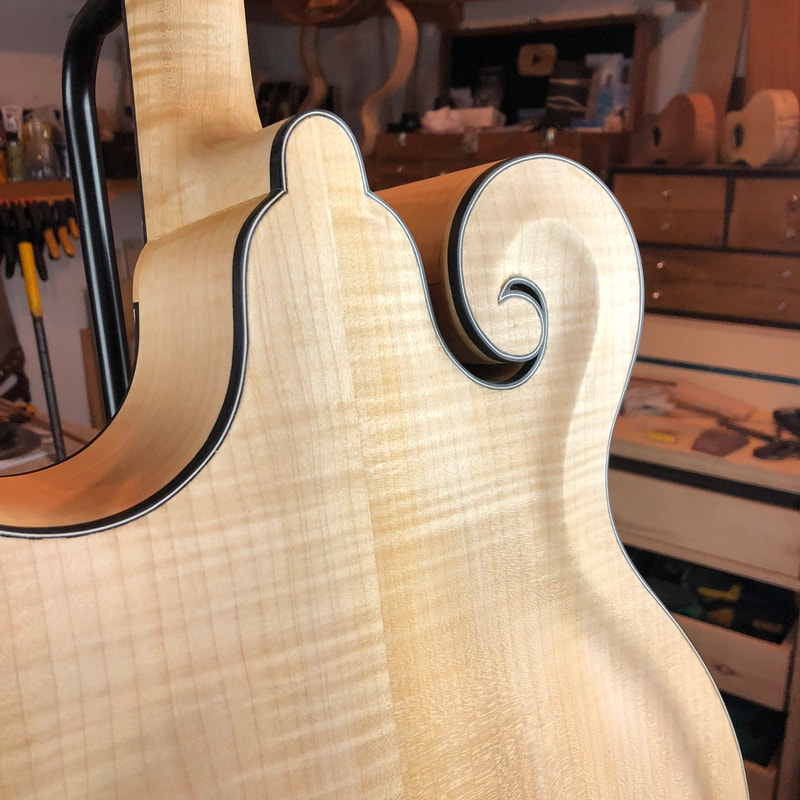
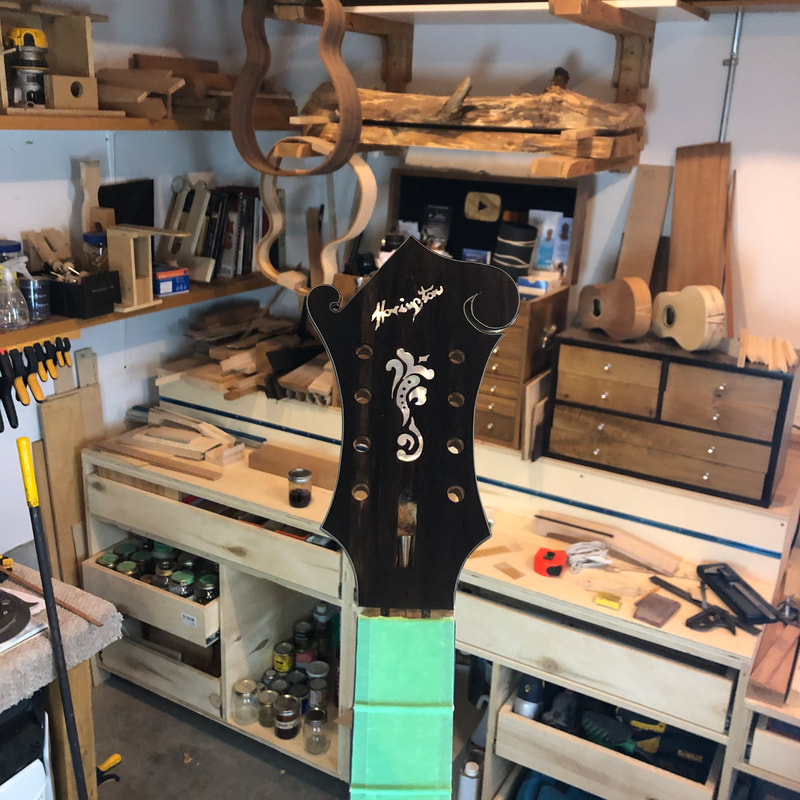
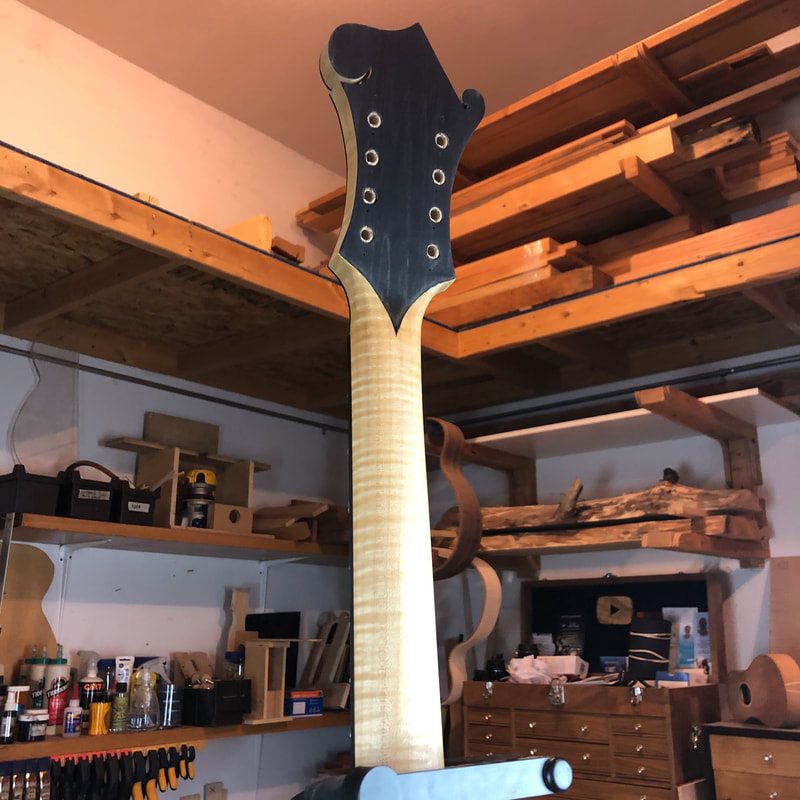
First I have made nice progress on another K4 M'Cello... This one with a soundhole rather than F Holes. I'm really exited about the woods in this build ( African Mahogany Back & sides, Red cedar top, Curly maple fretboard and pegHead). Starting to shape the neck and waiting on the tuners... I also started a H4 Mandola that will be using the same woods as the current Mandocello build and was happy to have my 5 years old apprentice to help with adding the Kerf last weekend. Currently carving the Red Cedar soundboard, Glue up soon... The Octave Mandolin body has been sitting on the side for awhile now, Quilted back and sides and Red Cedar top. I have just put the neck blank together and I'm hoping to get the neck joint done soon... Things are moving...
0 Comments
over a year ago I started my florentine style Mandocello based on prints that I’ve presonnaly made. so to be accurate I’ve started this build when I started gathering information about this instrument, size, dimentions, scale length, pro and cons etc… so in reality, I’ve been working on this baby for over 4 years. well last week I’ve finally did the final setup and call it a wrap. I’ve just finished the editing on the full build and i’m happy to share with you all here… let me know your thoughts! So after a total of 10 hrs I can put the final sanding behind and was able to move on to the next step and apply the seal coat. Grits when from 120,150,180,220,320,400,600. Schellac is a mix of platina and Amber to keep the color light but to also pop the curly figure. French Polish is now started...
Today in the Shop...I have now been in my new shop space for over 2 years and thought it would be time to act on finally making my miter saw station. At this point the cabinets are made and installed, and I can use it.. but I will need to start the drawers soon. Here is a link to the build video. Today in the shop...
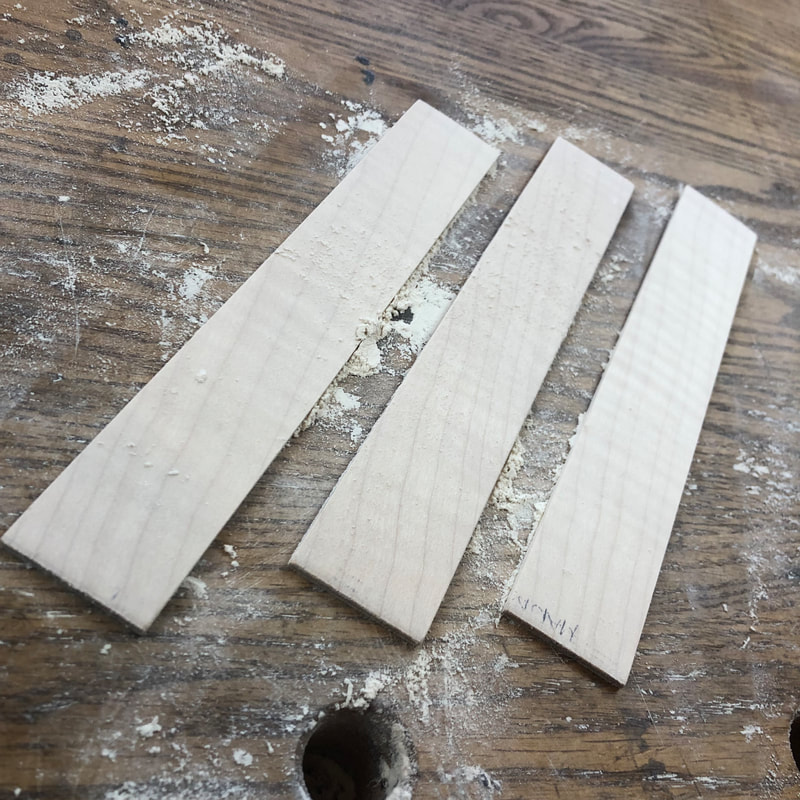
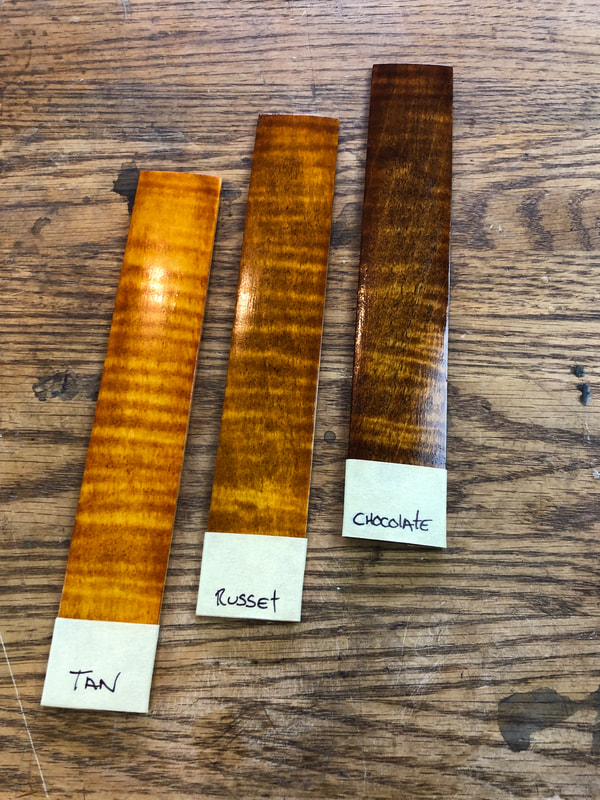
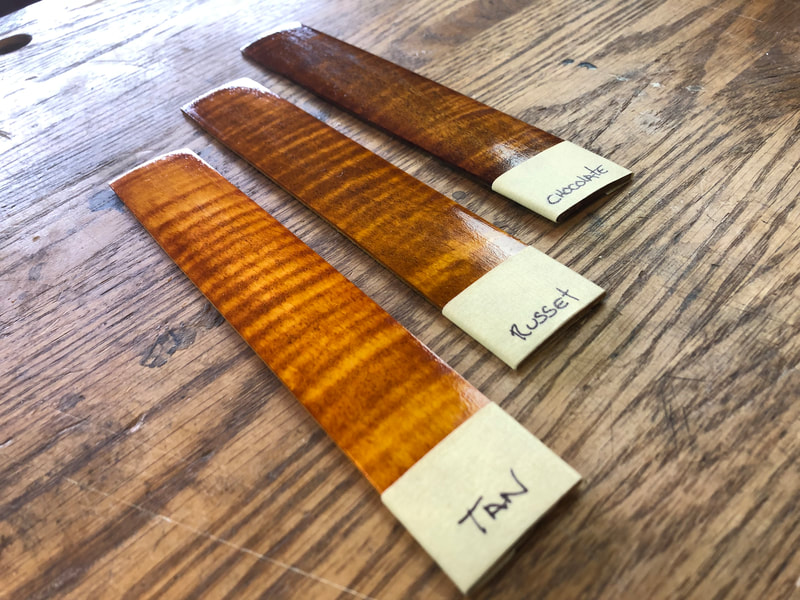
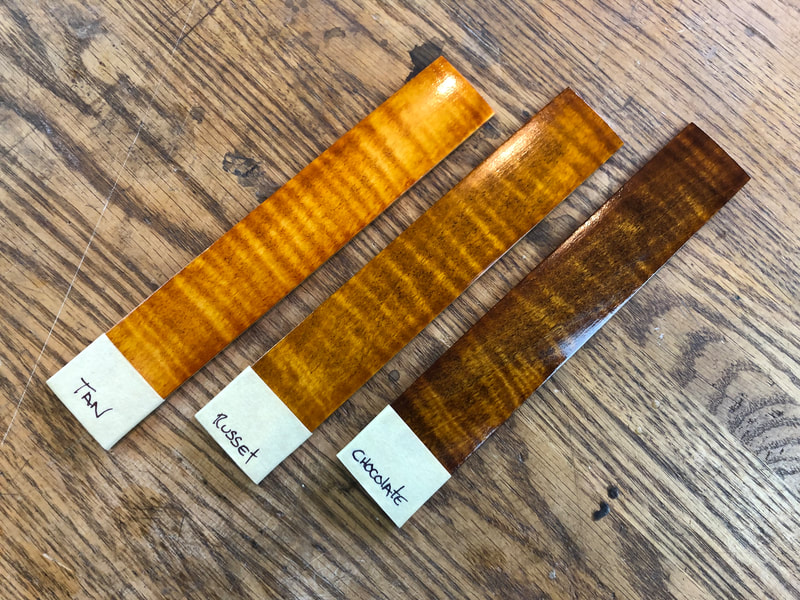
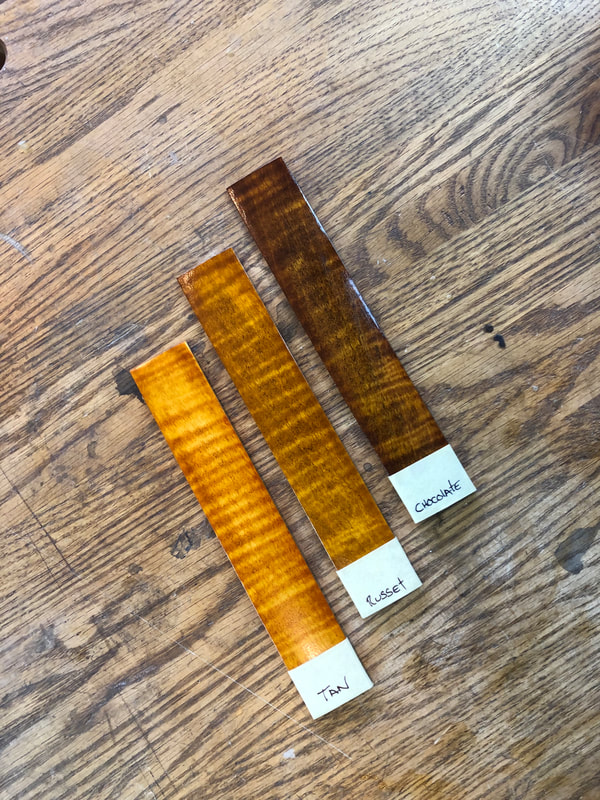
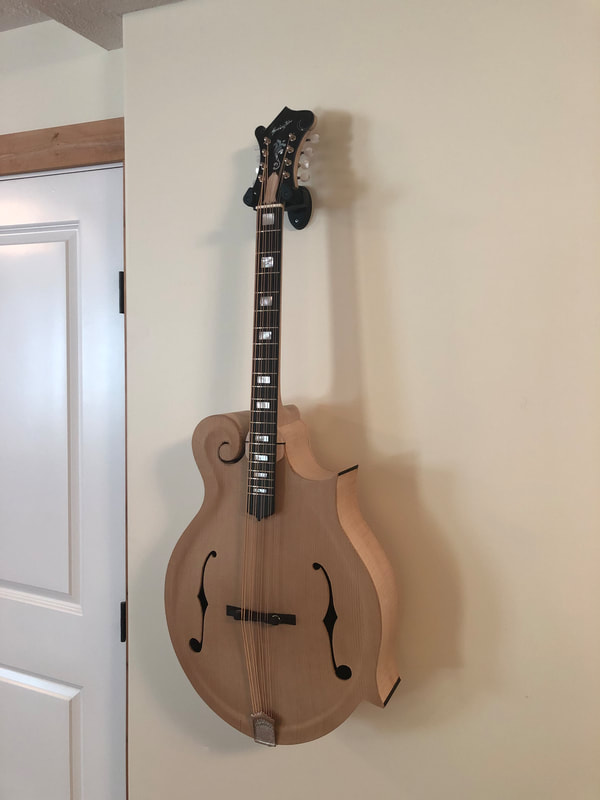
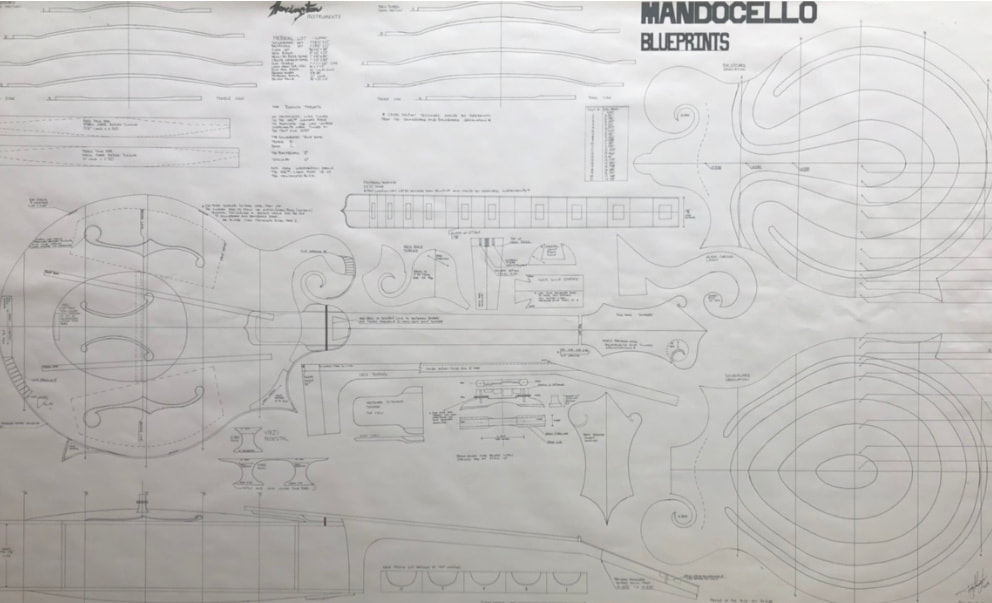
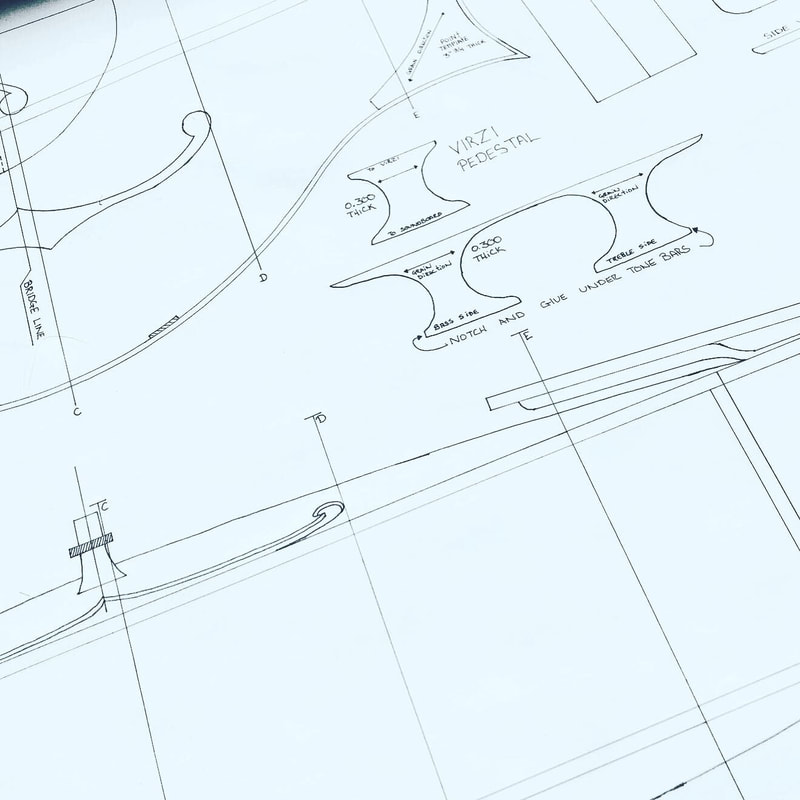
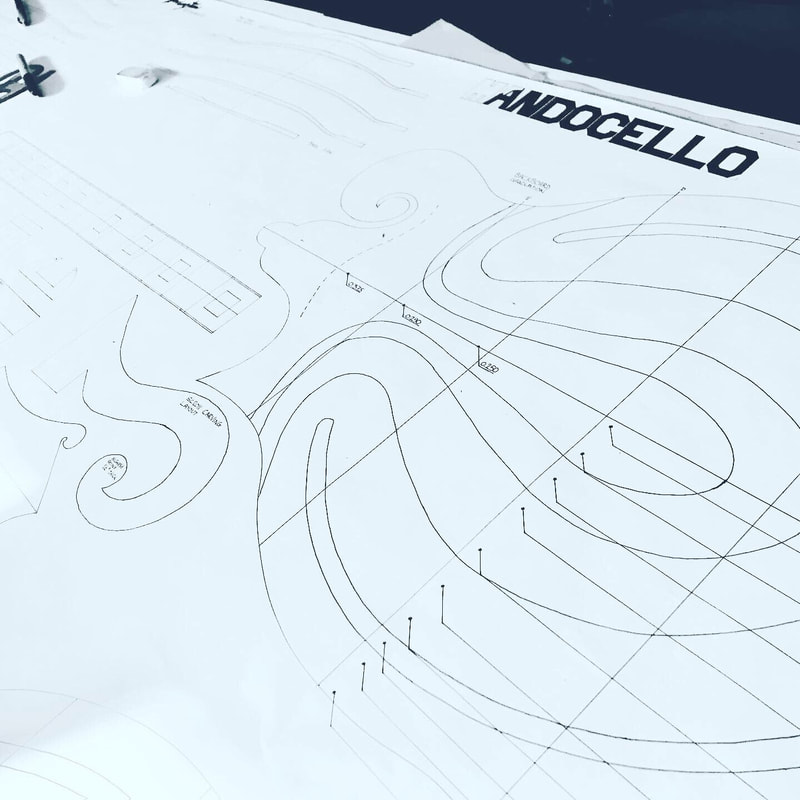
Spent some time today experimenting with some possible colours for the Mandocello... First I need to let you know that I decided to go with a French polish on this instrument, and by doing so, this will restrict my choices in blending colours and not be able to make a sunburst. Since the Leather dyes I use requires the same solvent that I use for my Shellac flakes, this bleeds the colors and mix them in a unwanted manner. In other words, It is almost impossible at this point to prevent the sunburst to bleed in the lighter colours in a controlled manner. Although my test so far are only on leftovers from the Mandocello rim that I separated in 3 pieces, I tested 3 colours and French polished them. This will obviously give a more antique look to the instruments and I am totally fine with this. I am curious, what is your favorite colour and why... Leave a comment bellow I would really appreciate your feedback. What colour would you make the Mandocello? Today in the shop... Today is all about sharing my last few years of research and sketching, cutting, shaping, and assembling on one single piece of paper. For over 3 years now I had in mind to get " Building a K style Mandocello" out from my bucket list.. Although the build isn't completed, I am entering the finishing stages. Meaning, I was able to put all the gathered information on one Full Size Plan. I am also happy to announce that the blueprints are now available in my Store. I really feel like today was a big milestone in the Mandocello build. A lot was dependant on going over this step... -Voicing- I needed it to be done in order to finalize the M'cello Blueprints, the get started on the binding of the soundboard and backboard and to enter the finishing stages. But also a lot needed to be dialed in before I even started with the voicing itself, Nut spacing, action setup, and also monitor the soundboard under tension for 2 weeks. I'm exited about this step being behind now but I'm even more exited about the sound of the Mandocello! Check out the video... The bridge is on and the Mandocello has been strung for almost 2 weeks now. Everything looks great and I am happy to report that 1st, I can enter the finishing stages right after the voicing is done & the binding added, and 2nd the M'cello full size blueprints should be available really soon! In this video I share and demonstrate how I was able to figure out the different locations (that creates the Intonation) where the strings go over the bridge. This is a very quick instructional video... Lots more progress on the Mandocello plans today... Most of the layout and templates are on at this point and most the remaining information to be added is written.
Really happy of the overall progress this week. Unfortunately, I won't be able to work on them till next Monday... Here a few picture of the progress since yesterday. |
Tomy Hovington LuthierArchives
October 2020
Categories |




 RSS Feed